I know this should be a travel post, but instead this week I did some actual traveling, in the form of heading home to Wisconsin for the holidays. I’m taking a mini break from business and blogging through the new year, but if you’re looking for some holiday reading material, check out decor ideas here, here, and here, plus awesome handmade gift guides from years past here, here, here and here, plus wrapping ideas here.
Dear Friend,
2014 has been a big year for 622 press. It started off normally enough: living in Madison and continuing to work as art director of BRAVA Magazine—all while driving down to Mom and Dad’s on the weekends to print on my antique letterpress. Spring was particularly busy, as the business added Middleton’s The Regal Find to its group of wholesalers—in addition to Driftless Studio on State Street in Madison; the now-defunct east-side Absolutely Art; and When Pigs Fly in Whitewater.
I was also printing my largest wedding stationery suite to date—150 three-piece invitations with lined, printed envelopes, 2 different thank you cards, menu cards, recipe card favors and more, plus designing a wrap for the invites, table numbers and seating chart—along with two other weddings, and the usual business cards, stationery and such. There were quite a few nights that I got back to my Madison apartment entirely too close to midnight, rushing down after work and printing the entire evening—but it was worth it to grow 622 press.
 By summer I had finally accepted Andrew’s invitation to move to Bermuda—job or not (I had been hunting from the U.S. since last year). I told BRAVA my plans months before the planned move—and after a few tense weeks of indecision, they committed to my current contract position as main freelancer for design work. However, we still had to find a replacement for me as Art Director. It’s sort of a funny thing—searching for someone to do the job you’ve poured everything into for 5+ years… plus she would be my boss! I’m so glad we ended up with the candidate we did though.
The process to apply for Bermuda residency was incredibly long and costly—and inefficient. Every time I thought I had submitted everything the government/health insurer/customs official needed, I was handed another list of medical exams, notarized documents and letters to acquire. I had planned to move in late July/early August, but the BRAVA logistics pushed my move until the end of August—exactly when my lease expired, so I was working right up until the week before I flew out, along with selling all my furniture and car, packing a shipping container, giving away the remainder of my clothes and household items and trying to take care of last-minute logistics like bank accounts and cell phone plans. It was chaos, but the knowledge that a slower-pace awaited me on the island sustained me.
That slower pace wouldn’t come for a while though—the shipping container had arrived, but Bess remained on the dock for weeks while I filled out more and more paperwork and proved over and over again that I had permission to live on the island. I also got a Bermuda driving license (written and driving exams, just like in the U.S.!) and bought a bike.
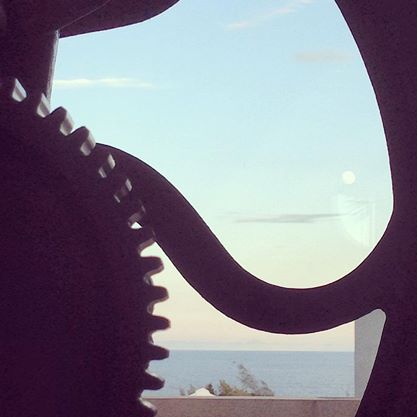
Finally Bess and everything else was delivered—I finally had a decent set of dishes (goodbye, Andrew’s bachelor kitchen), some artwork and most importantly, my studio. It took quite some time to get everything set up, but now it’s the perfect creative space—with an ocean view to boot.
Since the big move, I’ve been freelancing for clients old and new, as well as trying to grow 622 press. I post of-the-moment updates on facebook nearly every day, and of course blog as often as I can!
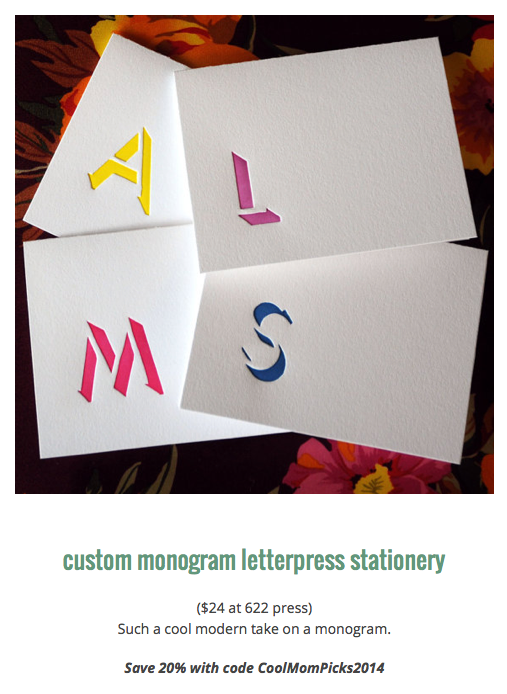
Several of the invitations we printed this year were featured on Wedding Lovely, a blog and wedding resource site that has been incredibly supportive of 622 press over the years. Our shadow monogram stationery was featured in Cool Mom Picks’ annual gift guide, which was far and away the biggest editorial feature I’ve had to date, and prompted quite a few orders this winter.

While I used the end of 2014 to get the business in order—making sure inventory is correct, analyzing pricing, timing and shipping, and redesigning our branding—2015 will be all about new work. I’ve been designing a new spring collection of cards and prints, plus brainstorming and prototyping new products, and searching for new stores to begin wholesale relationships with. I can’t wait to show you what I’ve been up to!
Until then, stay warm, enjoy time with your family and be grateful for such a blessed life—I know I will. Merry Christmas and happy holidays, see you in the new year!
Kristin

 Confession: I love watching home improvement/décor shows. Back when I owned (and was in the process of rehabbing) a century-old bungalow, watching them was a near daily activity. I’ve weaned myself in recent years, but a few months back I caught an episode in which the host and her trusty sidekick rustle up some antique wood type and simply stamp them on canvas for fairly inexpensive art.
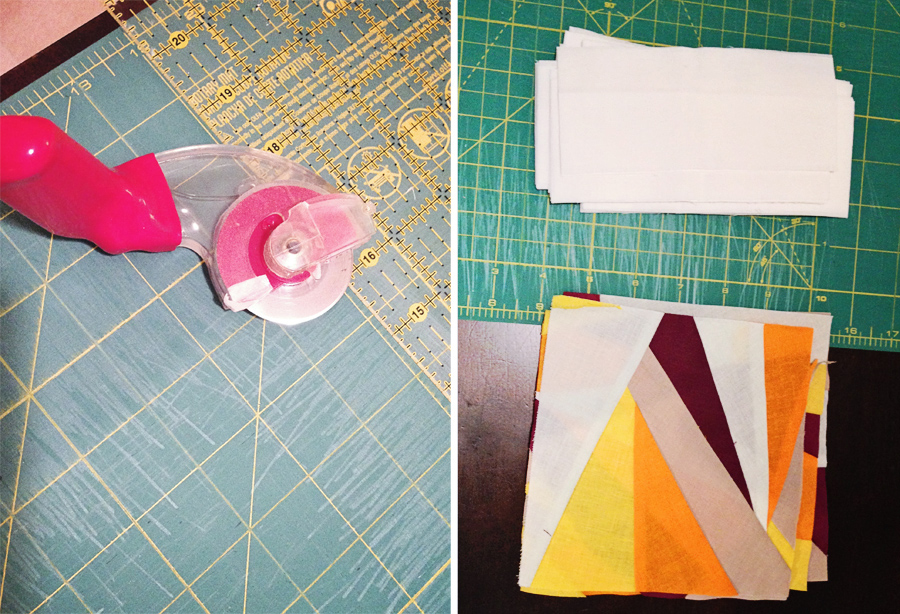
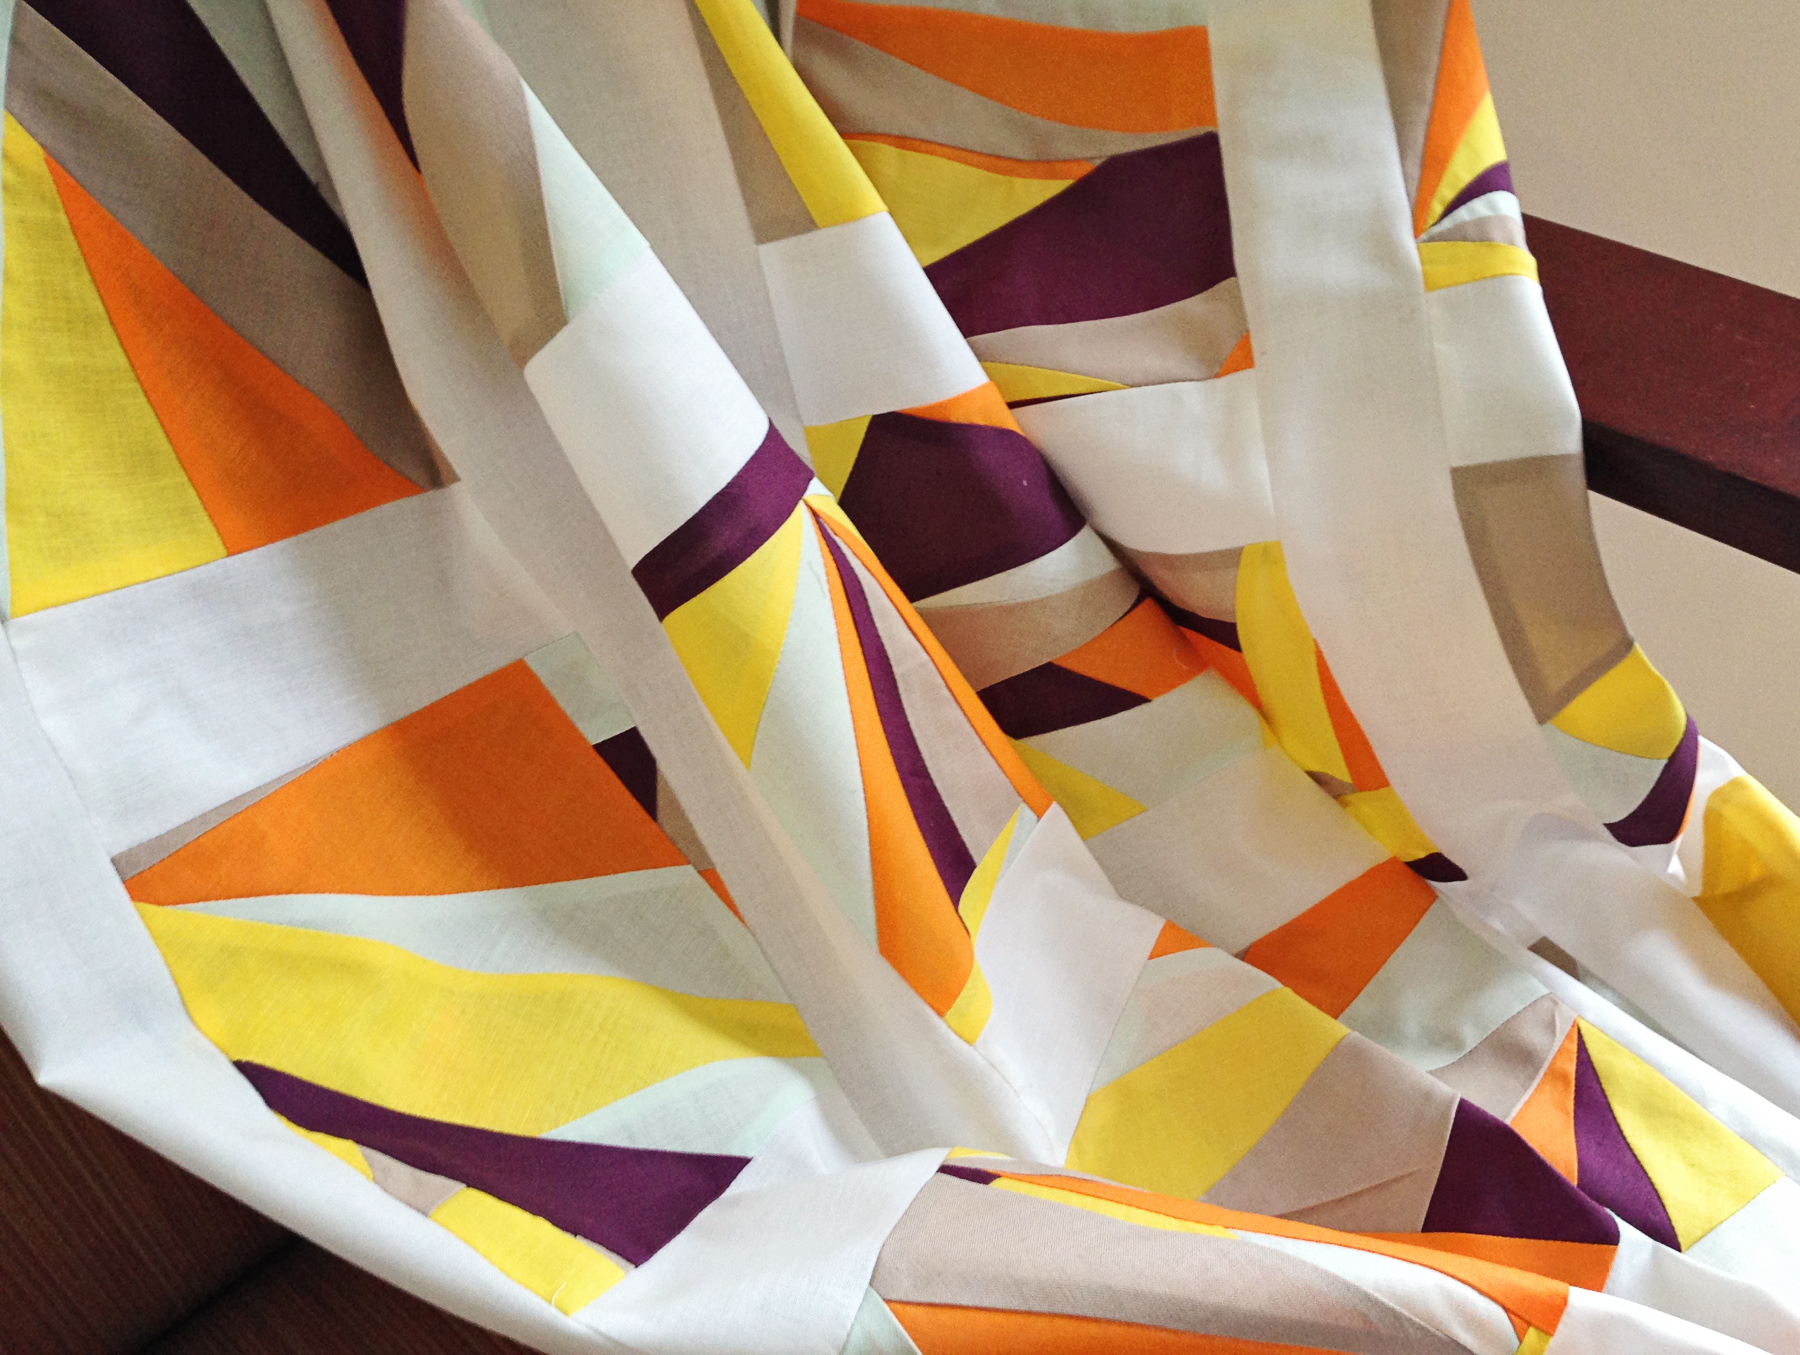
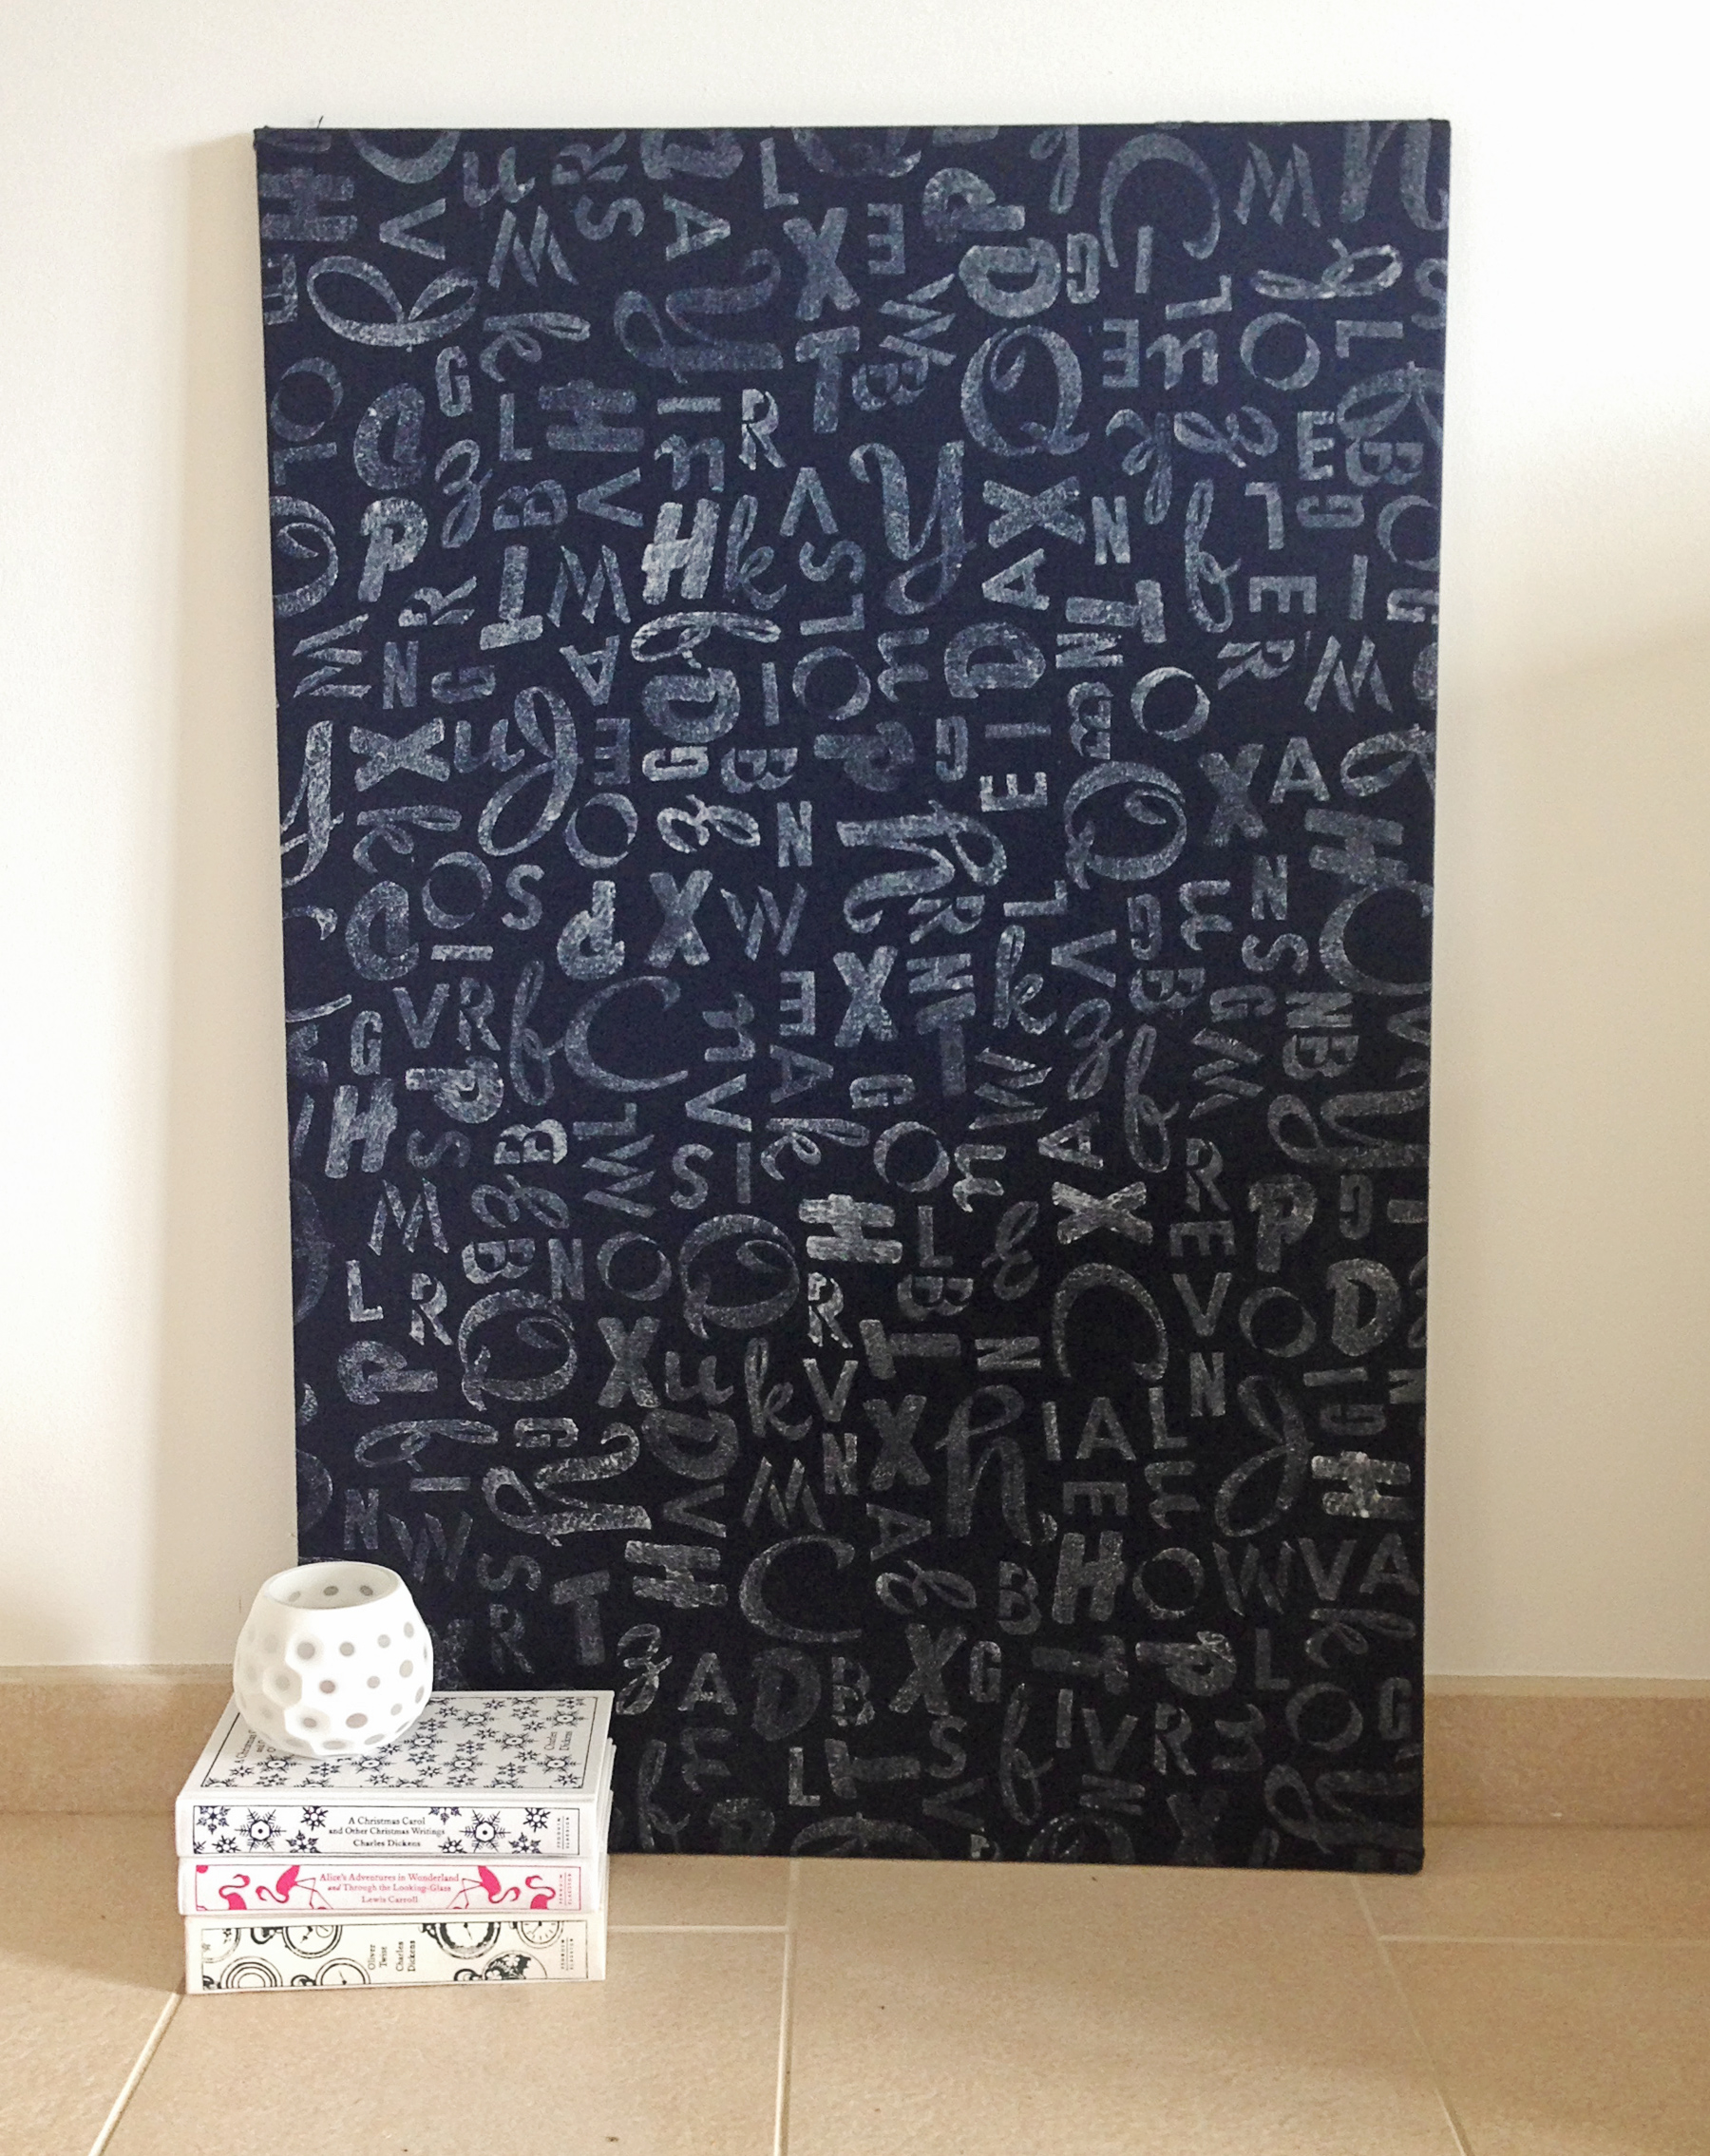 My plan was to print enough to stretch around a frame large enough to cover an unsightly fuse box in our entry way, plus enough extra to do a test wash and maybe a few scraps to include in a patchwork pillow project I have planned. While I had the ink out I also wanted to test out an idea for bespoke monogrammed wrapping paper I’ve been kicking around for a while.
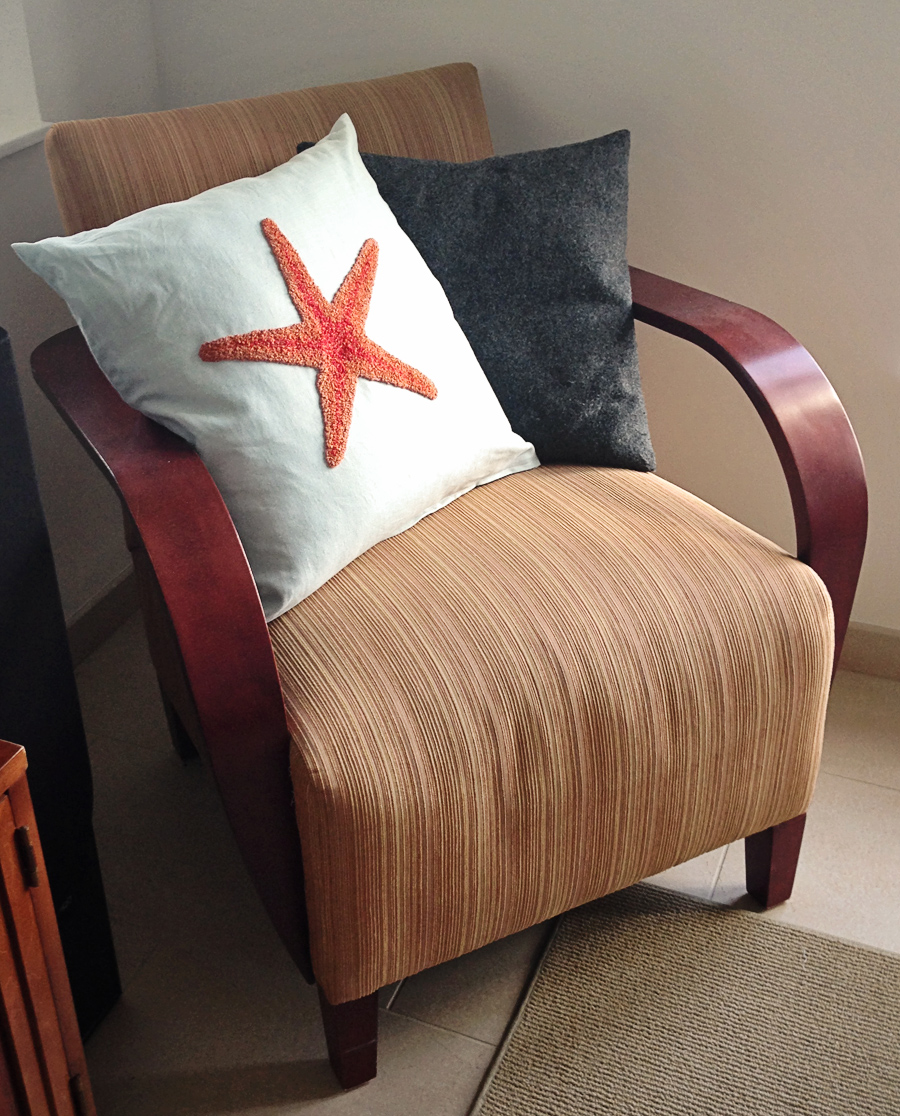