Remember when I promised you a studio tour approximately one thousand years ago? Well, I thought I’d finally make good! Here’s where I spend my days:
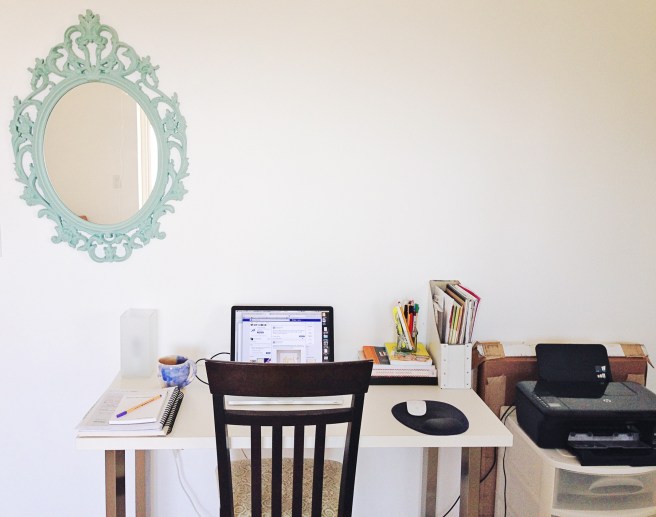 Desk: Obviously a lot of my time is spent here: designing new letterpress imagery, working on freelance design projects, managing social media and of course blogging! I try to keep my desk fairly neat, but let’s be honest, there is usually a bit more clutter!
 Even though I have significantly fewer appointments these days, I still love my planner. I finally discovered the most perfectly designed planner four or five years ago and have ordered the same style online every year since! For lists that need to last more than a week, I prefer a small notepad—the one pictured here is a very fancy letterpress version given to me by a former intern.
The coffee mug was thrown by yours truly in college. I love drinking from a handmade mug, I always taper my mugs at the bottom so they’re perfect to wrap hands around. And I make them extra large so I only need a few refills each morning.
On the right are Bermuda stamps so I’m ready to send a card any time. I love the stamps here—they’re absolutely gorgeous.

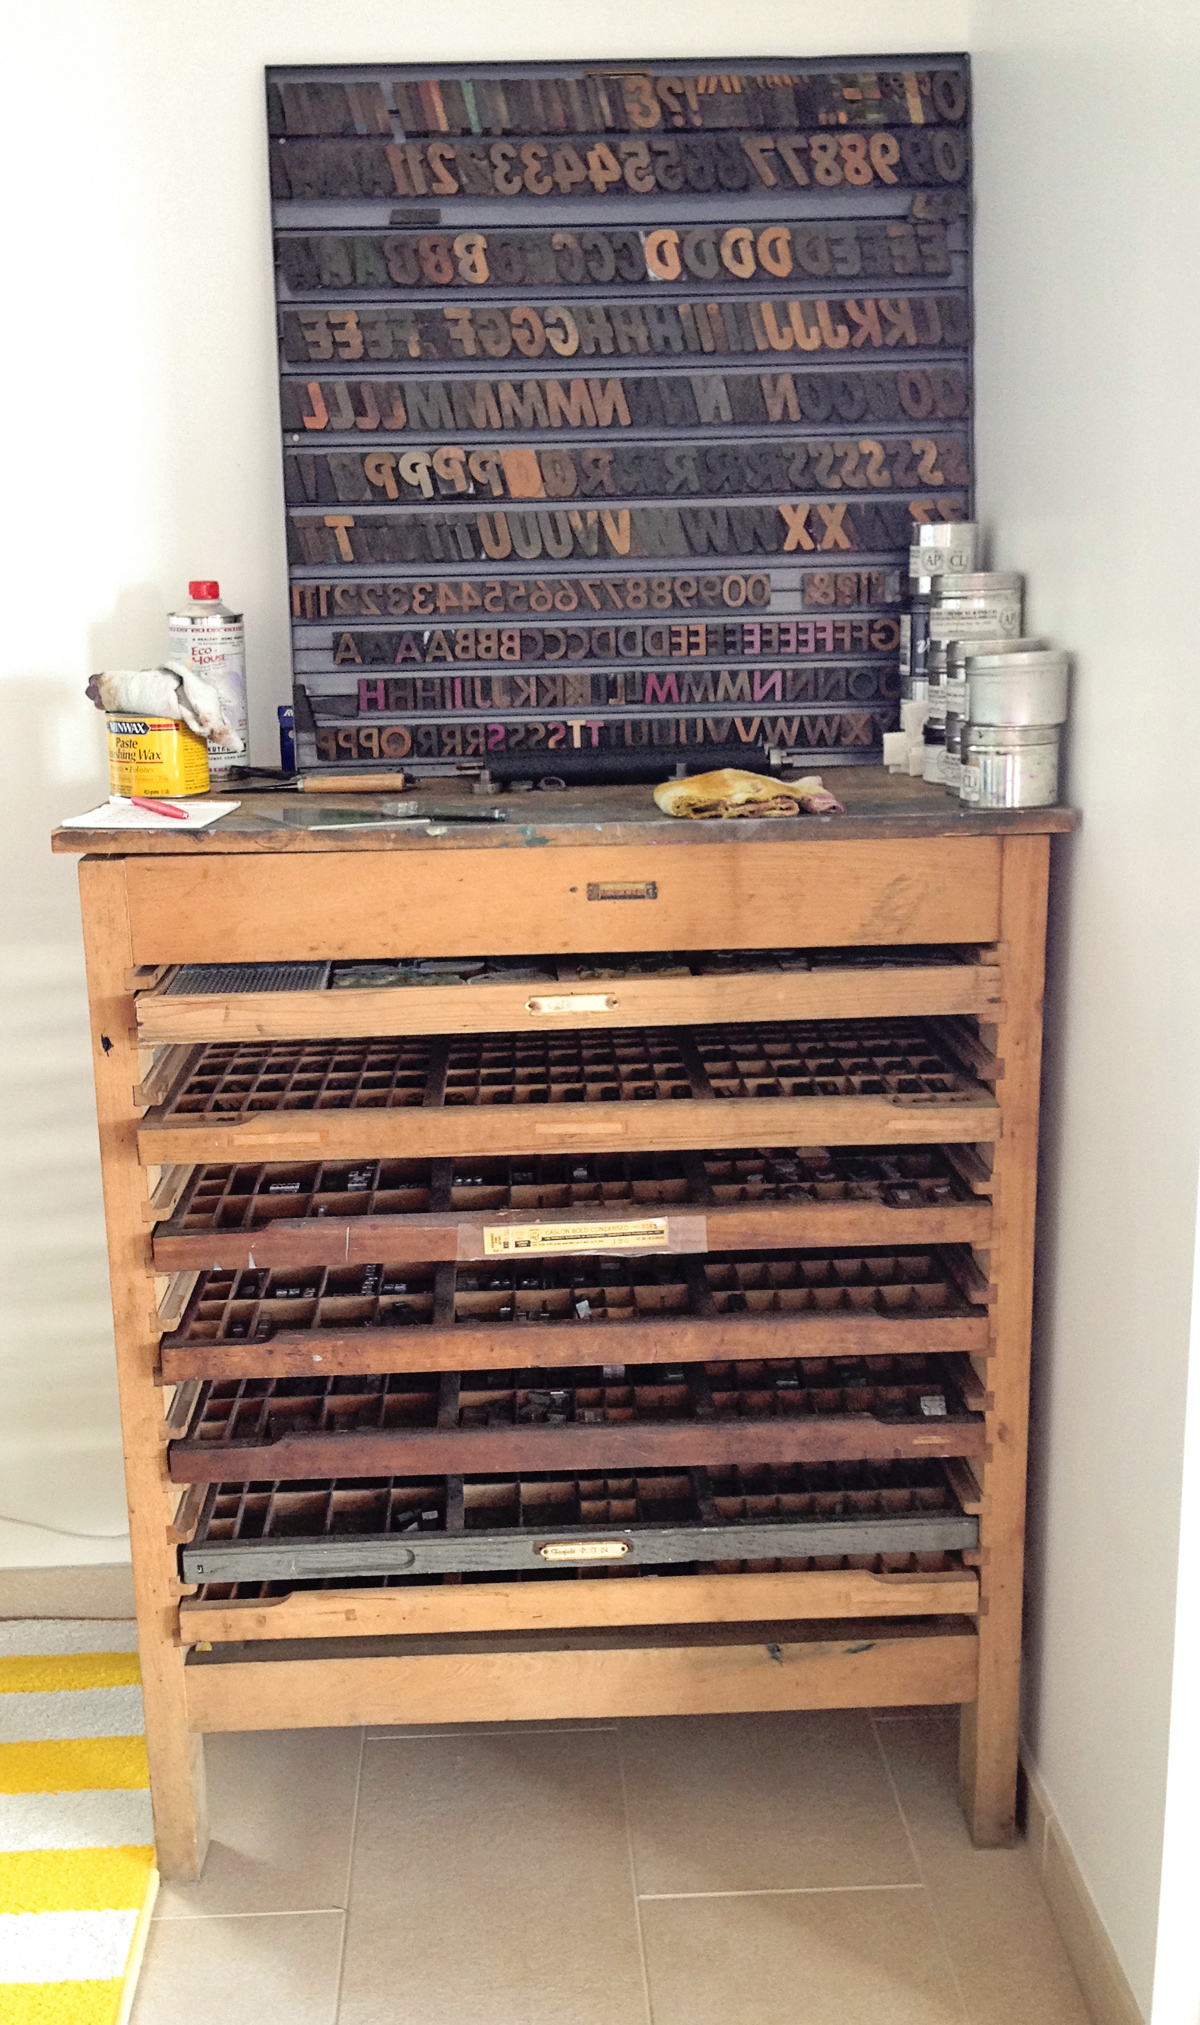
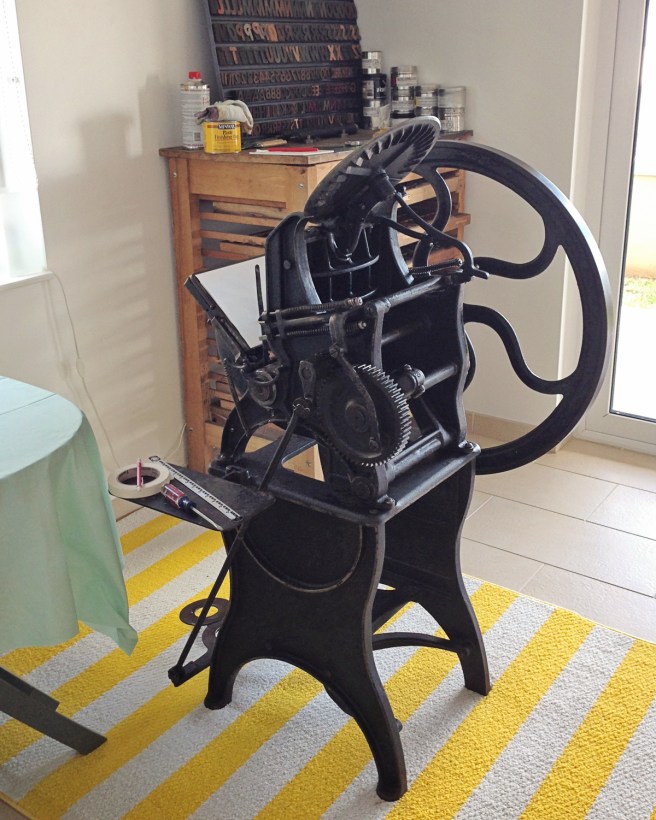 Now for the lady of the house: I’ve got Bess set up on a rug with a piece of plywood underneath to protect our light-colored tile floors and my feet. With my type cabinet on my left and a clean table to my right for finished product, I’m set up for maximum productivity!
 I keep my ink on my type cabinet, as that’s sort of the “dirty zone.” You can ruin an entire run with one inky finger leaving marks on your work, so it’s important to sequester ink and non-clean items in one area and wash your hands A LOT. When I was in my parent’s house that meant going upstairs every time I needed to wash up, so I feel downright spoiled that our kitchen is just 10 feet away.
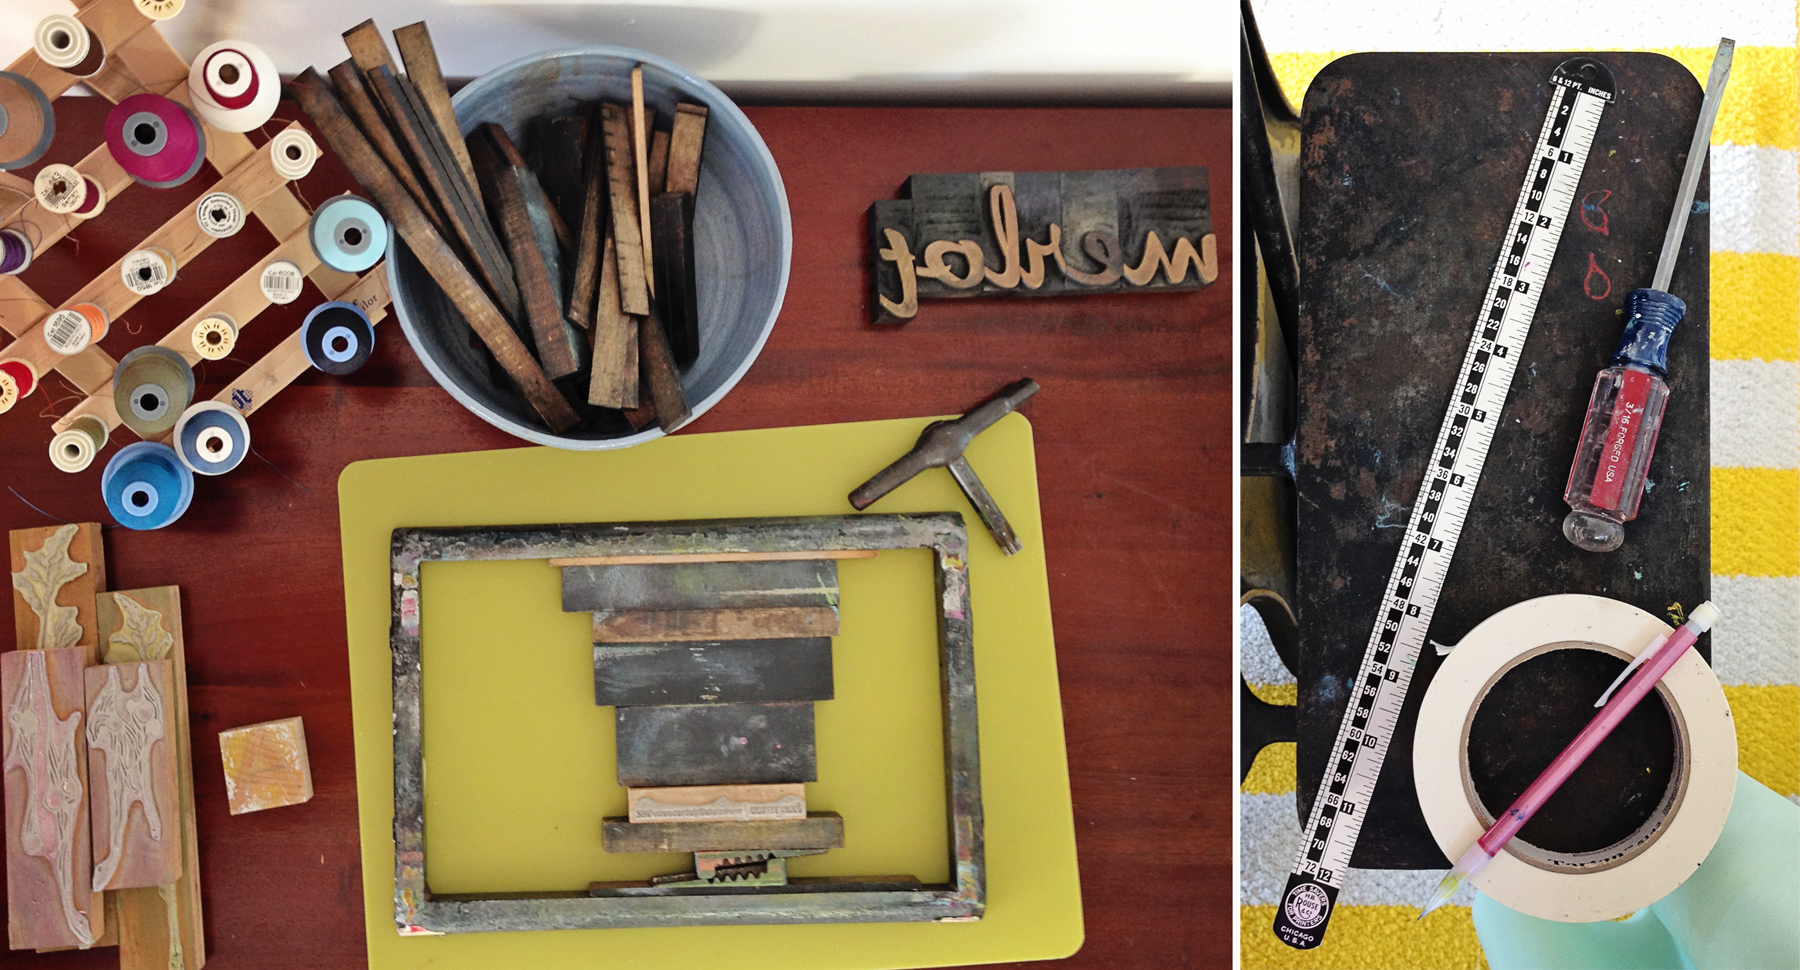
Anyway, I mix my ink with a putty knife on a thick piece of glass; standard printmaking procedure. I currently use oil-based inks by Gamblin and Graphic Chemical and save my mixed colors in folded-up freezer paper (another product of my printmaking roots). And yes, I always label colors really specifically: robin’s egg, light orchid, plum, often with notes about consistency as well.

 The top of my type cabinet is quite warped (imagine that after a century or so), so I lock up my type on the dresser I use for storage (it belongs to our landlords, so I protect it with a plastic cutting board that just happens to match my yellow rug). I didn’t bring all my furniture (which is the wood blocks used to keep the printing plate or type tight in the frame), so I just keep it in a ceramic bowl I threw in college.
Other necessary printing tools: a ruler, screwdriver, masking tape and pencil hang out on the small side table of my press.
 Over on the clean side of things: a small table to lay out freshly printed work, and my cutting mat for trimming and folding. I use a rotary cutter, thanks to my mom who is a quilter. I find that it doesn’t leave the dragging edge of an exacto knife and it’s much easier on your hands!
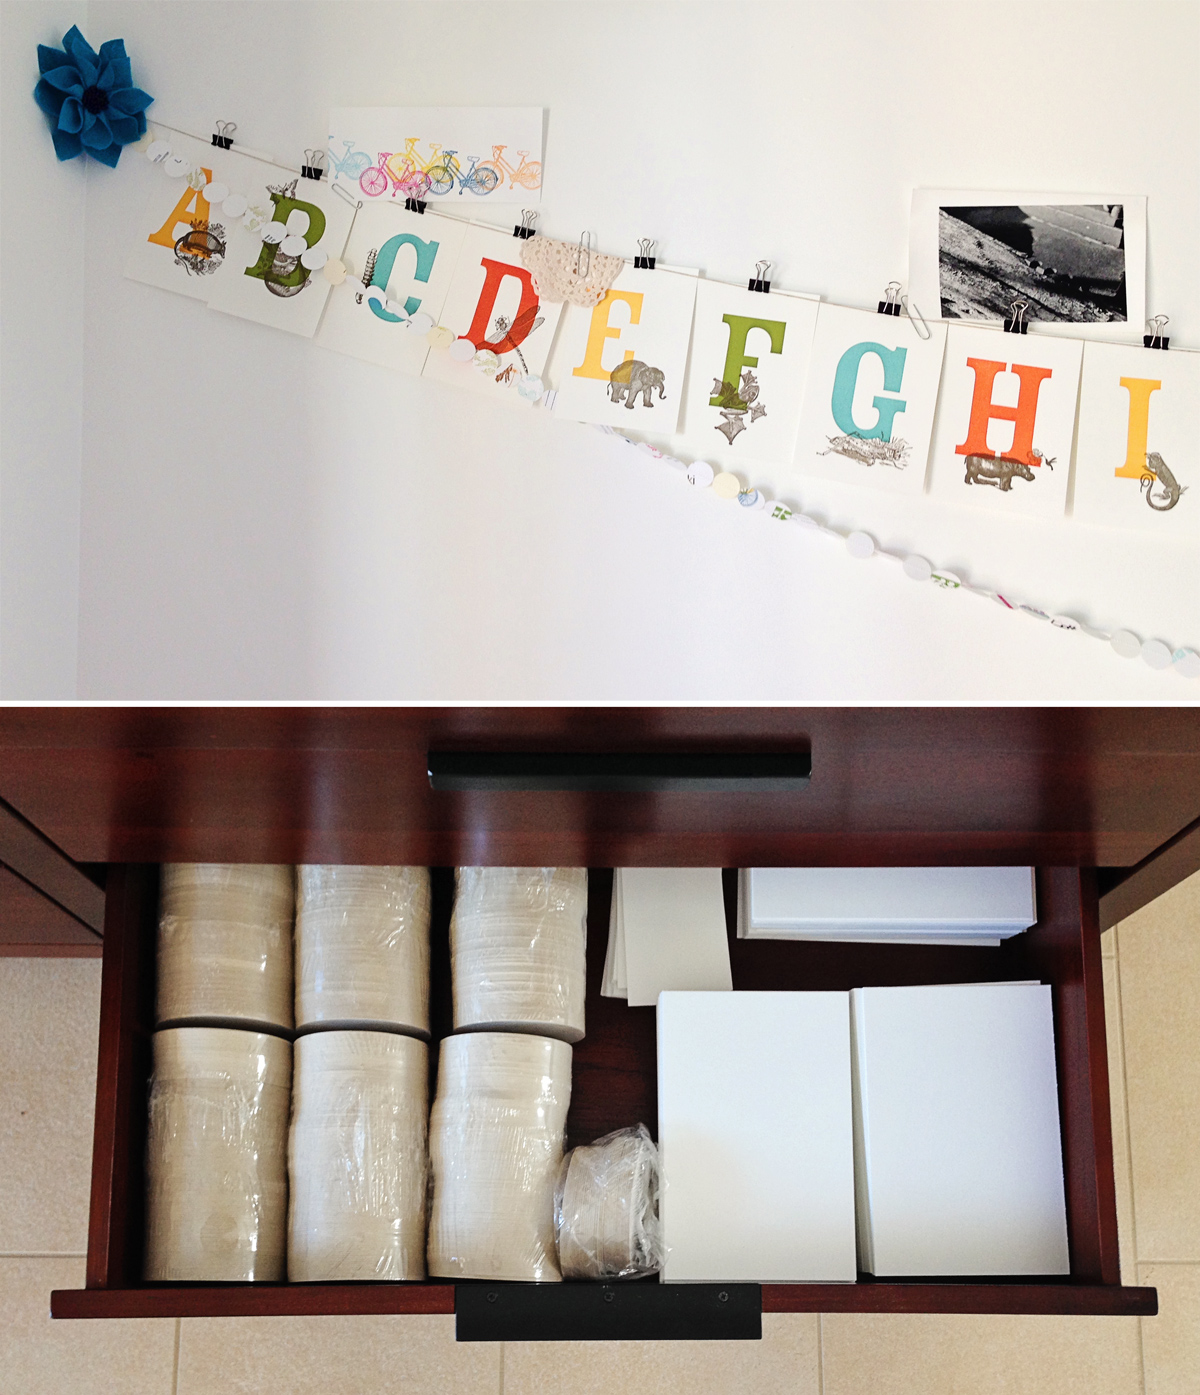
 The newest addition to the studio is this dresser, pilfered from the upstairs guest bedroom with Andrew’s help. I was trying to get by with just a few small drawers of storage and it just wasn’t working out. The room is much cleaner and more organized with it!
Above it, I decided to create a sort of inspiration wall. The alphabet was printed by Sugar Cube Press and purchased at Anthology in Madison before I moved. I’ve added other prints I’ve made, photographs, art pieces from my Australian penpal and others, and my own letterpress circle garland.